
How To Take A Screenshot in Unity: 2 Mins Tutorial
- VOiD1 Gaming

- Oct 9, 2021
- 2 min read
In this quick 2-minute tutorial, Learn How to Take an In-Game Screenshot in Unity.

You must have seen many games allowing users to take stunning high-quality In-Game screen captures to collect and showcase in their Hall of Fame or sharing it over social media. And this Screen Captures have now become a marketing strategy for the Big Companies to pull up more users through various events like Best Shot Award, making funny memes, etc., But is it really a hard thing to do? Of course not, today we would be using a simple method to capture the screen that would be easily accessible to share, and in the upcoming article, we would be doing more advanced stuff. So, let’s begin capturing our Game Scene.
Capturing the In-Game Scene
Here are the basic steps we would be following to capture the In-Game Scene instantly –
1. Let’s Begin with any Unity’s Default Sample Project.

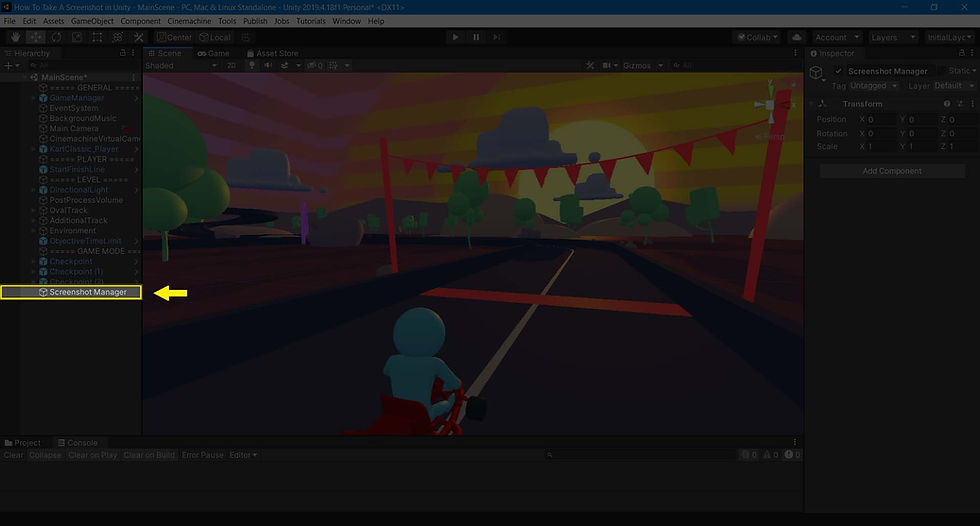
2. Now, we would create a GameObject, rename it to “Screenshot Manager”and then add a New Script using the Add Component button. We will name it “ScreenshotManager” for our reference. Double Click on it to open in Visual Studio or any other Script Editor.


3. Before we begin, we need one variable as a parameter to provide the ScreenCapture Class. So, let’s create one string to store the name, “screenshotname”. You can use any name you want; however, it is required to keep the names of the Screenshot Unique to avoid Name Conflicts and File Overwriting.

4. Next, we will create a separate method or function that would handle our Screenshot Capture Mechanics. Let’s name it “TakeScreenshot” and it would take one argument, i.e., a String screenshotName.

5. So, we are nearly done, now we need to pass the Screenshot Name to the ScreenCapture Class and our ScreenCaptured Image would be ready instantly. The code would be, ScreenCapture.CaptureScreen(screenshotName + ”.png”); As you can see we are using the “.png” extension for the image file, you can use any Image extension you want instead. We will be also adding one Debug Statement just to check if the code is executed.
6. Lastly, in the Update Method we would be checking for the Player Input and then call the TakeScreenshot Method while passing the Screenshot name, “First Screenshot” to the argument. Now just check your Project folder and you will be finding your ScreenCaptured Image.


There you go, you got your first Screen Captured Image of your Game. But, that’s not the ending, in the upcoming article we would be making an advanced script that would allow us to define custom Screen Resolution and Custom Path to save. Stay Tuned and Never Miss Out on an Opportunity to Learn More.
Get the Project Files.
With Love From VOiD1 Gaming


Comments